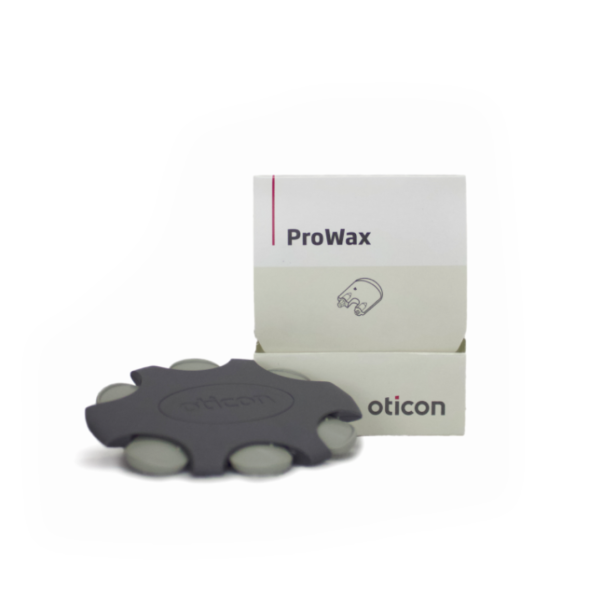
Oticon ProWax
7,20 €

The Oticon ProWax filter is produced water-resistant and protected materials that will protect your hearing aid from dirt and humidity. Frequent replacement extends the life of your hearing aid and reduces the number of reparations. The good sound quality is maintained, and you will always hear the best sound. To get to optimal effect it is recommended to change the filter every fourth week.
The Oticon Prowax filter fits for both in-ears and hearing aids with receivers in the ear.
The filters are very easy to replace. The filter is placed on a tool with a needle that will pull out the old filter from the hearing aid. After taking this out you can easily put in the new filter with the other side of the tool.
The advantages of the Oticon Prowax filter
- Extends the life of the hearing aid.
- A warrant for good, long-lasting sound.
- Can be used for in-ear devices and external receivers.
- Easy to replace.
Read more in the description below
Description
Functions:
Wax protection for Oticon hearing aids (Receivers and in-ear devices)
Water-resistant coverage
Gives optimal sound income.
Package contains:
6 Oticon ProWax filters
Combability:
All Oticon hearing aids use RITE domes and in-ear devices (check the instructions manual on your in-ear hearing device to find which wax filter to use if you are in doubt or contact us). If you use MiniFit Domes, you should use Oticon ProWax MiniFit.
You can replace Oticon NoWax filters with the Oticon ProWax filter and get a better, protecting effect. Use the NoWax tool to take out the NoWax filter and place ProWax to use ProWax.
How to replace an Oticon ProWax filter
To replace the filter, remove the filter module from the ring.
Pull out the filter that should be replaced with the empty side and place the new ProWax at the same place.
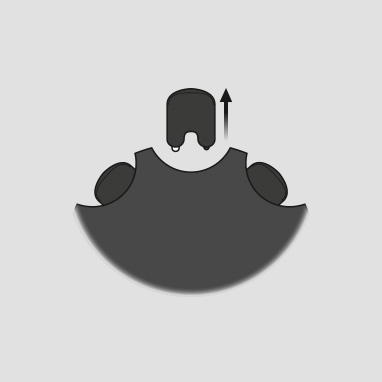
1. Tool
Remove the tool from the shell.
The tool has two ends.
One empty to remove the filter
and one to place the new.
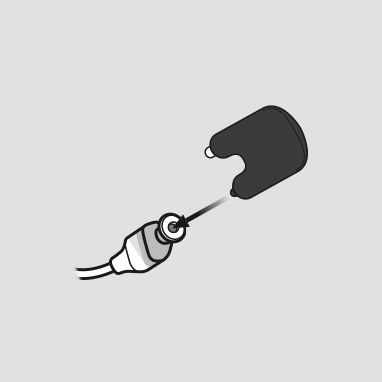
2. Take it out
Put the empty end into
the speaker on the hearing aid
and pull out the filter.
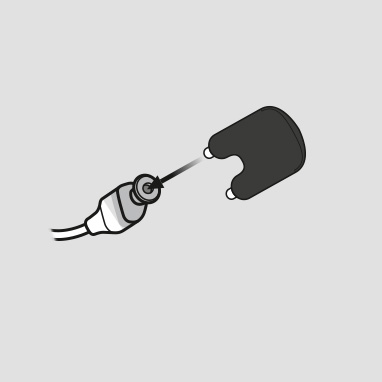
3. Place the waxfilter
Place the wax filter
on the other end,
remove the tool and put it in the bin.
4. At the end
The speaker should look
like the picture,
after you’ve replaced the
wax filter.